The "Skin Glossing" TikTok Trend, Put to the Test: My Honest Take on Waldor Skin's HydraGlass Line
Updated: Sep 23
Okay, so if you've been anywhere near skincare TikTok lately, you've probably seen the term "skin glossing" thrown around. It's basically the new glass-skin - that dewy, hydrated, almost-lit-from-within look that somehow survives studio lights, wedding photos, and even a red-eye flight. I was skeptical at first (aren't we all, every time a new "it" routine shows up), but I decided to actually try the five-step routine everyone's been talking about: Waldor Skin's HydraGlass line. Here's the full breakdown, friend to friend.
Wait, What Is "Skin Glossing" Actually?
Think of it as glass skin's more grown-up cousin. It's not about looking shiny or greasy - it's about layering hydration in a way that plumps, smooths, and creates a genuinely luminous finish that holds up under makeup (or on its own). The idea is that if your skin prep is good enough, you don't need ten layers of foundation to look glowy. Honestly, as someone who's tired of "dewy" ending up looking oily by 2pm, I was intrigued.
Step 0: The Cleanser (Because Good Skin Starts Here)
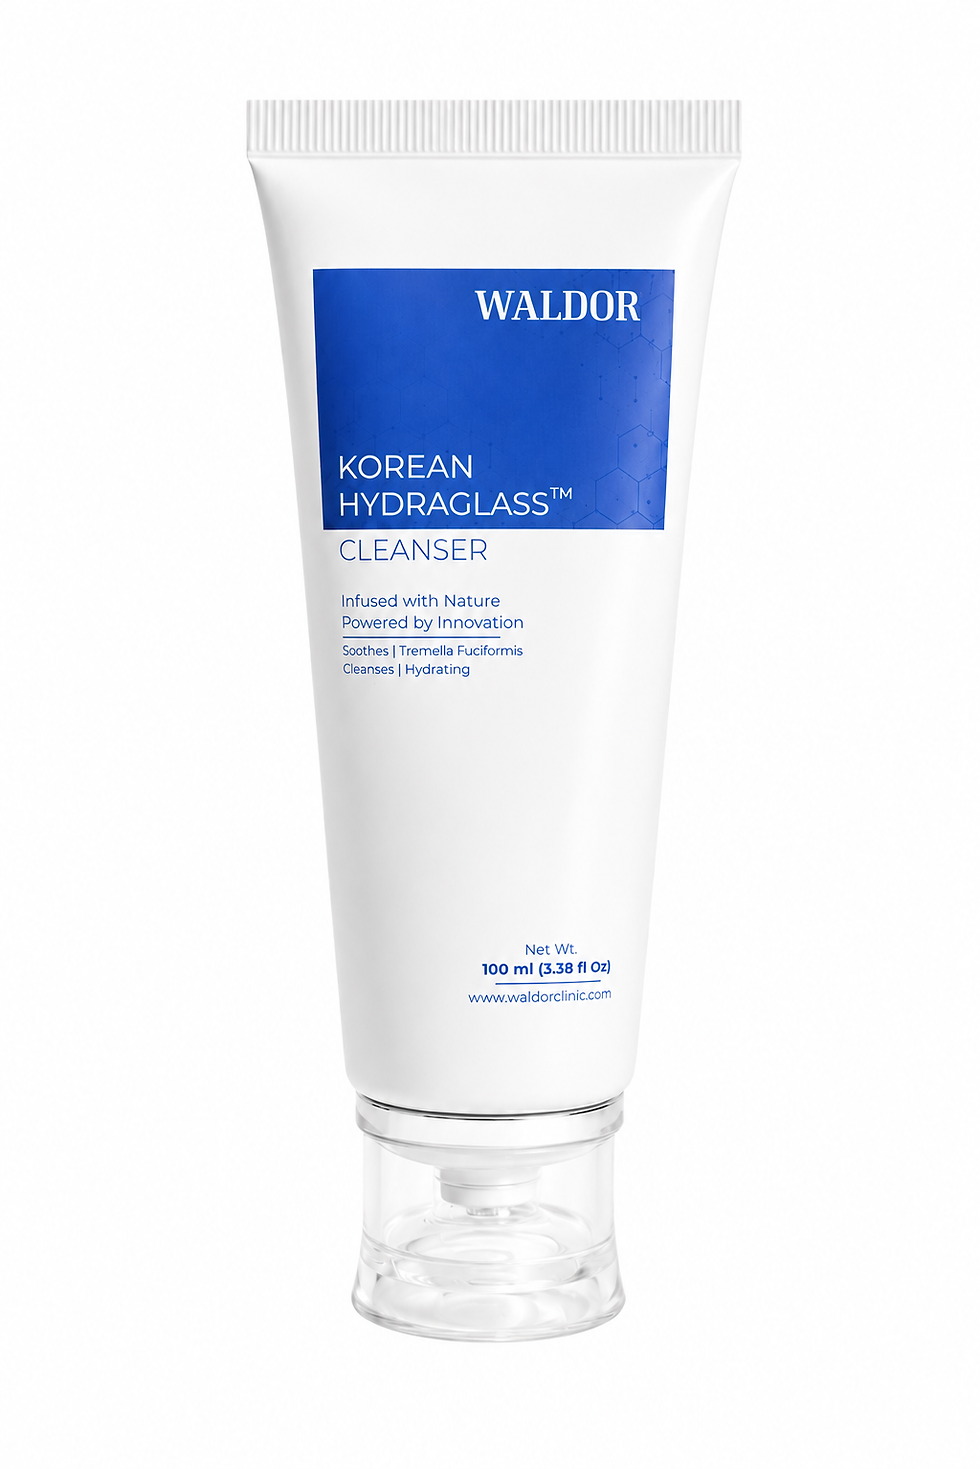
Before any of the glossing steps, you need a clean base, and this is where the HydraGlass Cleanser (£39) comes in. It's a gentle, low-pH formula, which matters more than people realize - a lot of cleansers strip your skin barrier without you even noticing, which makes every product you put on after less effective.
It's packed with Centella Asiatica, Tremella mushroom, and Dendrobium orchid extract, plus PDRN and growth factors, which sounds like a lot, but in practice it just means it calms redness while it cleans instead of leaving that tight, squeaky feeling. If you've got sensitive or acne-prone skin, this is genuinely a solid pick, since it's designed to prep your skin to actually absorb the actives you're about to pile on.
Step 1: HydraGlass Longevity Pads (£59) - The Prep Step Nobody Skips
This is where the actual glossing routine begins. These pads gently exfoliate away dead skin and the gunk sitting in your pores, which sounds like a small thing but makes a real difference. Every hydrating product you apply afterward absorbs so much better on a smooth, freshly buffed base instead of sitting on top of flaky patches. Consider this your foundation-for-your-foundation step.

Step 2: Lift Facial Mask (£10) - The Hydration Flood
At £10, this is genuinely the easiest sell in the whole lineup. The Lift Mask is all about deep hydration - think peptides, hyaluronic acid, and collagen-supporting ingredients that plump and brighten in one go. It's the step that does the heavy lifting for that instant "my skin looks refreshed" effect.

Step 3: HydraGlass Serum (£69) - The MVP
This is the step I'd argue is worth the splurge if you're only adding one new product to your routine. It combines PDRN, NAD+, hydrolysed collagen, and biofermented actives, which basically translates to firmer, more radiant-looking skin over time, not just a temporary glow.
Pro tip straight from the brand (and one I actually stuck to): press it in with your palms instead of rubbing it in, and let it sit for about 60 seconds before your next step. It sounds fussy, but it genuinely changes how well the product settles in.

Step 4: HydraGlass Eye Lift Cream (£89) - The Splurge Step
This one's a bigger investment, so I get if it's the step you skip. But the under-eye area needs its own hydration before a heavier face cream goes on top, and this cream is built specifically for that - smoothing the look of fine lines and helping with puffiness. Apply a small amount around the orbital bone with your ring finger or the cooling applicator and pat in the rest.

Step 5: HydraGlass Cream (£59) - Sealing the Glow In
Last but not least, this cream is the step that actually locks everything in. It's what turns "hydrated skin" into that glass-like, glossy finish everyone's chasing. The application tip here matters too: massage upward around the perimeter of your face, but go lighter through your T-zone so you're not left looking greasy by midday.

So, Is It Worth It?
Here's my honest take: this isn't a "buy the whole thing on payday and hope for the best" kind of routine. It's an investment - the full five-step lineup adds up. But if you're going to commit to layering your skincare properly, the logic behind each step actually makes sense, and the order matters. Nothing here felt like a gimmick tacked on to ride a trend; it felt like an actual system built around how skin absorbs product.
If your budget doesn't stretch to all five steps at once, I'd start with the cleanser and the serum. Those two alone will get you most of the way to that "wait, is your skin just like that?" glow that skin glossing promises. Then build out the rest as you go.
Either way, if you've been curious about the trend, this is a genuinely thoughtful place to start.
Article by Jess Mae Blake

